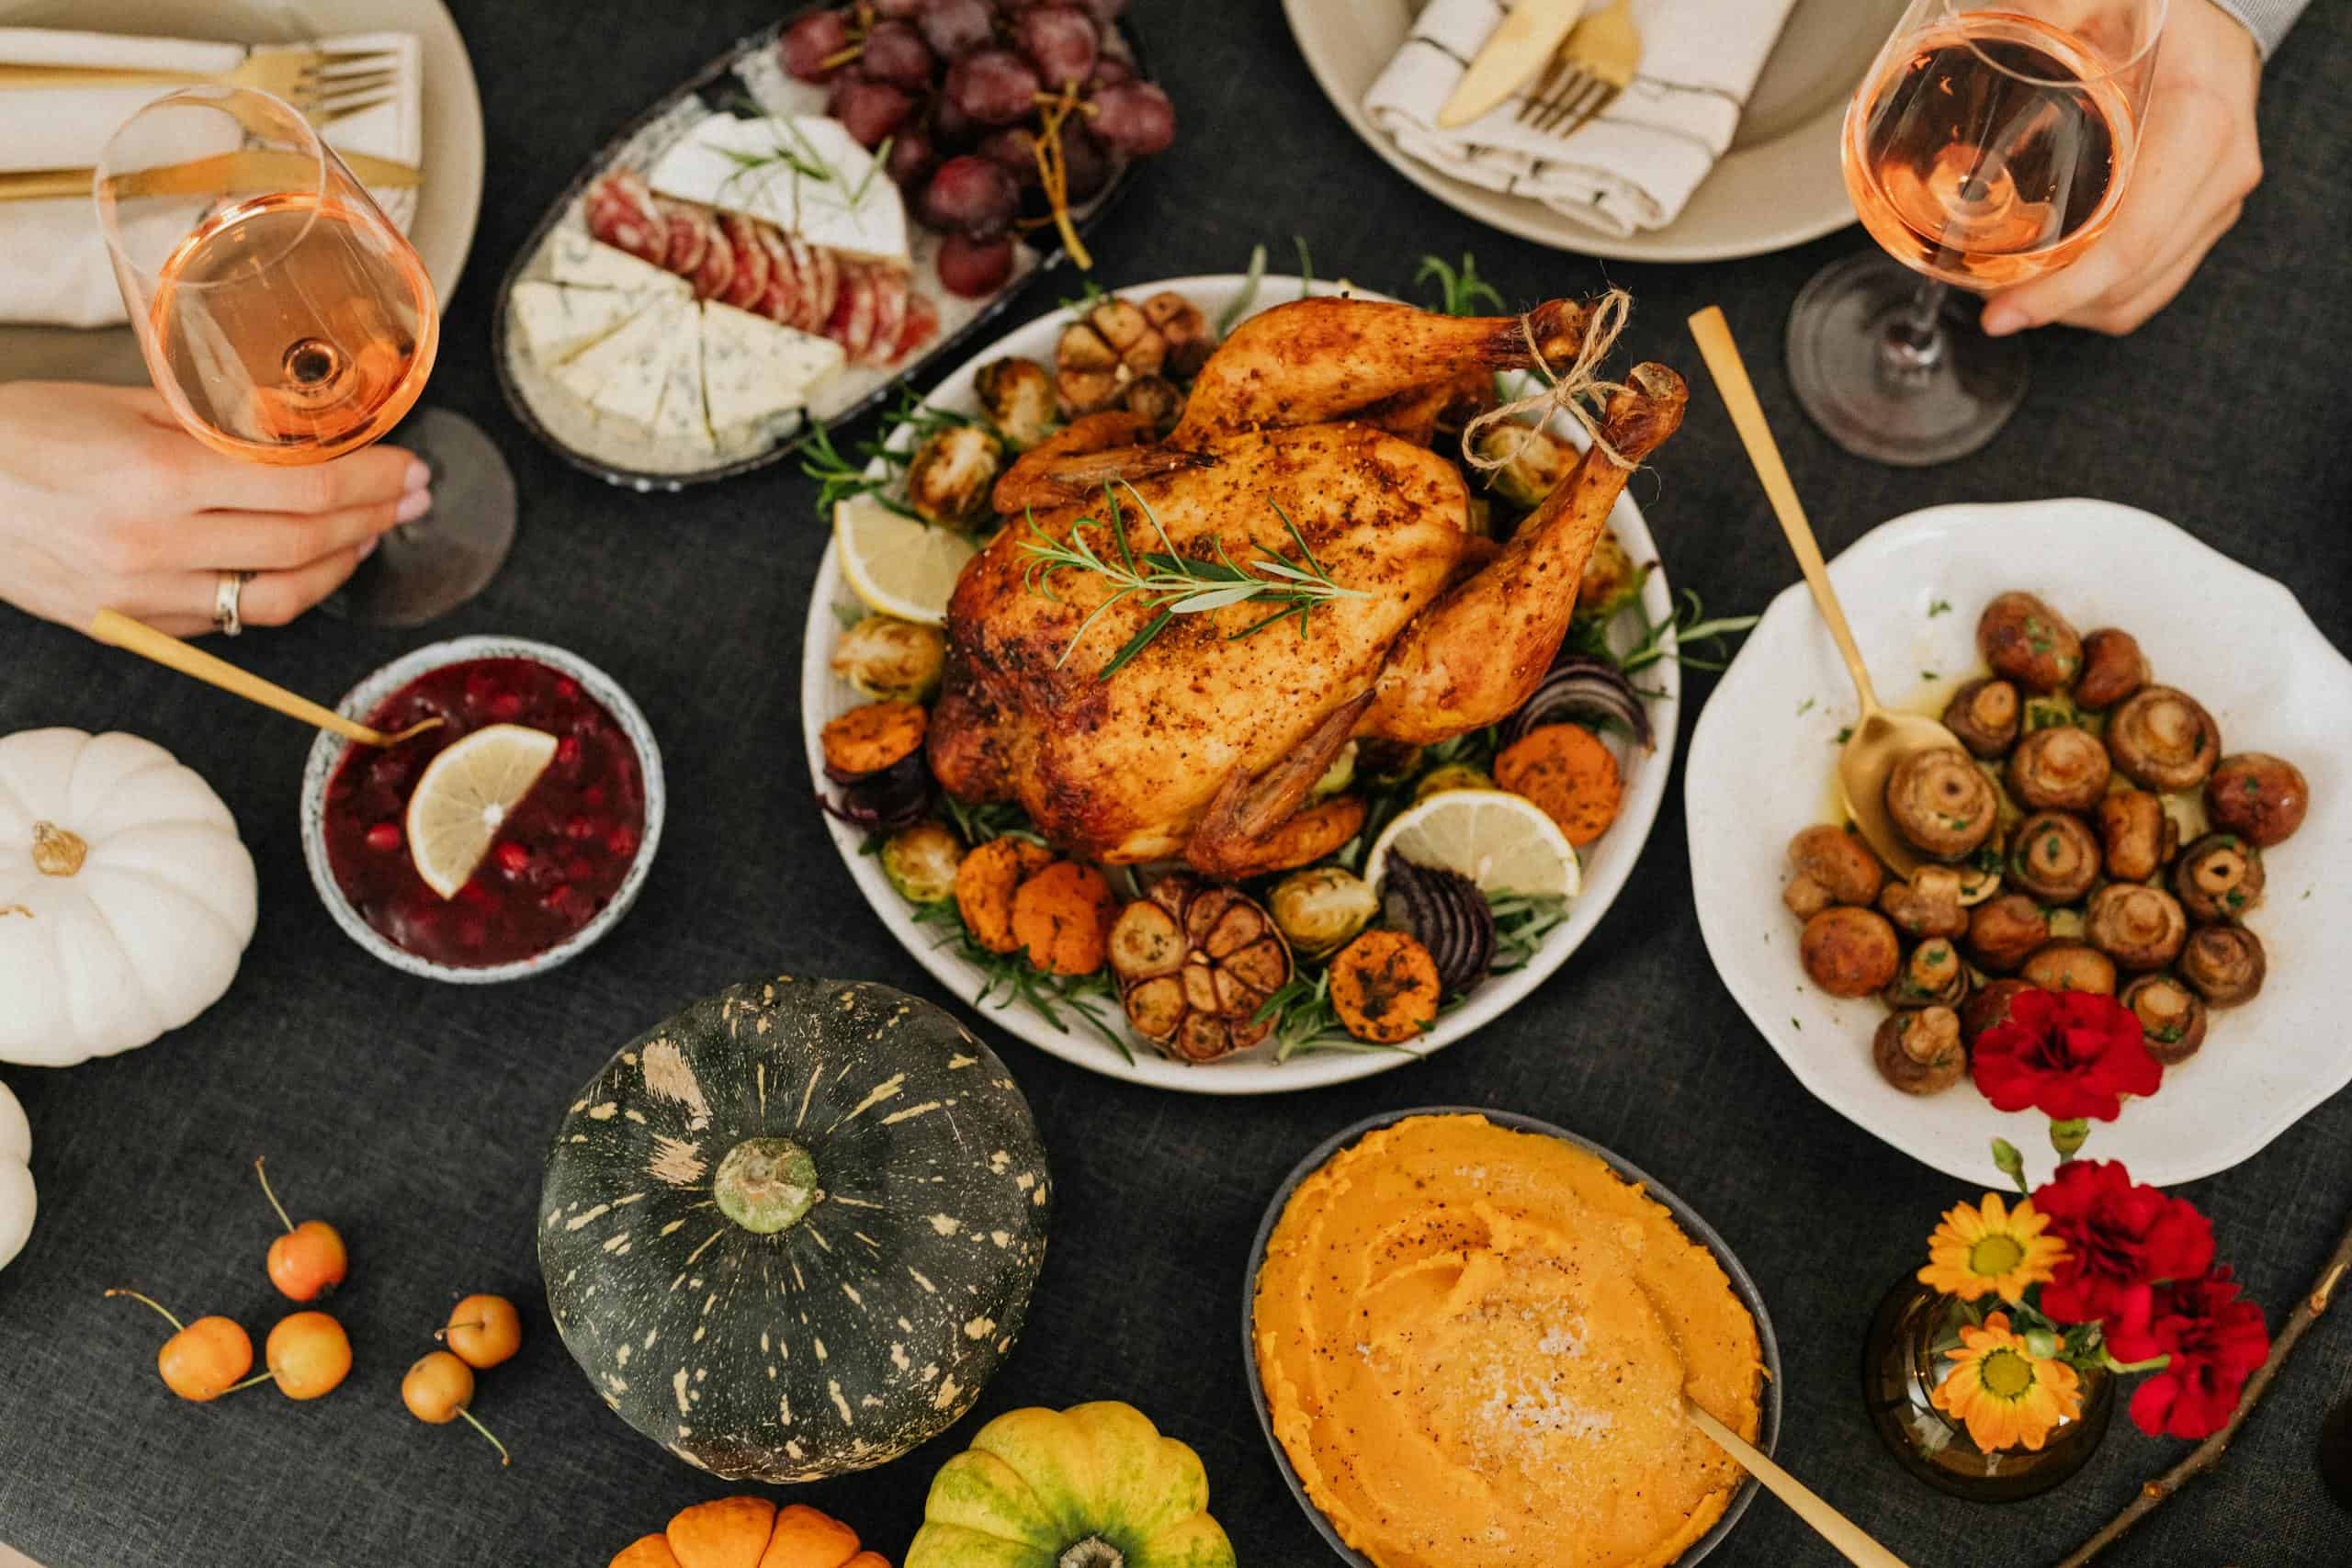
13 Best Ways to Preserve Food in 2023
Home food preservation has been a game-changer in my kitchen. Preserving food serves two main purposes: preventing waste and preserving its nutritional value and flavor. It is amazing to capture the essence of a season, bottle it up, and be able to enjoy it whether the snow is falling or the sun is blazing outside.
Imagine opening your pantry or refrigerator, and there you have –the flavors of each season year-round. I can enjoy the peak ripeness of any produce whenever I choose.
My kids can be picky eaters and the ability to save their favorite ingredients to incorporate in meals throughout the year has made meal planning and preparing so much easier.
I understand that life can get busy, and preserving food takes LOTS of time. But the investment to preserve food pays off in countless rewards.
Beyond the practical benefits of reduced food waste and cost savings, each preservation method elevates the flavor of your foods and ensures they are free from additives. I love that we are able to tailor the processing of our ingredients to our unique preferences. When I preserve food there is a tangible connection to tradition, sustainability, and self-sufficiency.
Since I began home food preservation, I have a deeper appreciation for the ingredients and the effort I invest in creating nourishing meals.
In this blog post, I want to take you through my top 13 ways to preserve food that goes beyond just sticking things in the refrigerator. From time-tested classics to some innovative methods that might surprise you, these techniques have transformed my relationship with food and the way I appreciate each ingredient.
These food preservation methods offer a reliable solution to extend the shelf life of perishable ingredients. We can avoid food spoilage while ensuring that our harvests and resources are put to optimal use.
From home canning to drying, freezing to pickling, food preservation empowers each of us to take control of our food supply. By preparing preserved goods, we create a cushion against unexpected shortages and contribute to reducing the strain on supply chains.
Food preservation serves as a bridge between abundance and scarcity, offering not only sustenance but also a sense of security and self-reliance during challenging times.
My journey to preserve food at home has been one of trial, and error and delicious successes.
So, whether you’re experienced in home food preservation or someone who simply loves savoring the best of every season, I’m thrilled to share these preservation methods with you. Together, we’ll dive into the world of food preservation: saving money, reducing spoilage and enjoying all of our creations.
What Are the Best Ways to Preserve Food?
When it comes to preserving food, there are many techniques that not only extend the lifespan of ingredients but also create remarkable flavors. In 2023, food preservation has evolved beyond the basics. There are a variety of innovative methods.
These preservation methods aren’t just ways to keep food from going to waste; they’re opportunities to explore flavors, experiment with creativity, and make every meal an adventure.
Join me as we unlock the secrets of home food preservation. Let’s embark on a journey where each jar, each pouch, and each infused bottle holds not just food but memories. It’s our ticket to time travel through taste and a trip worth savoring.
1. Pressure Canning

This method harnesses the power of heat and pressure to safely seal your creations in jars. Canned foods are an airtight haven that keeps food spoilage at bay and flavor at its peak.
You can lock the vibrant flavors of low-acid foods such as green vegetables, red meat, poultry, seafood, and dairy, as well as combination recipes like stocks, soups, and stews, all while keeping them safe and shelf-stable for months to come.
Canned food is great for food storage, but food safety is paramount when home canning so be sure to avoid unsafe canning practices by following advice from tested sources.
A pressure canner preserves food by reaching higher temperatures than traditional water bath canning, effectively eliminating any lurking bacteria and ensuring that what you’ve lovingly prepared stays delicious and safe.
Tools for Pressure Canning
Pressure Canner that includes a dial or weighted gauge that measures the steam pressure
Canning jars
Canning lids
Canning bands/ rings
Canning Rack
Potholder/ towels
Jar lifter
Canning Funnel
Measuring tools
Cleaning supplies
Air bubble tool
2. Water-bath canning

Water bath canning can preserve foods that are pre-processed for months or years which is great for food storage. This time-tested preservation method transforms fresh fruits, jams, jellies, pickles, pie fillings and high-acid foods into treats that can be enjoyed year-round.
The process involves immersing sealed jars in boiling water, creating a gentle yet effective heat that kills off spoilage-causing microorganisms. As the jars cool, you’ll hear the satisfying “pop” of the lid sealing – a sign that your efforts have paid off.
Tools for Water-Bath Canning
Large pot/water bath or steam canner
Canning jars
Canning lids
Canning bands/ rings
Canning Rack
Potholder/ towels
Salt (depending on the recipe)
Bottled lemon juice, vinegar or citric acid (depending on the recipe)
Jar lifter
Canning funnel
measuring tools
Cleaning supplies
Air bubble tool
3. Freezing

Freezing is a simple preservation method, and it’s incredibly convenient.
Freezing is like hitting the pause button on time, allowing us to capture seasonal ingredients’ peak flavors and textures.
This technique offers a world of possibilities, from flash-freezing to blanching-scalding in boiling water- before freezing.
You can tuck away garden-fresh vegetables for winter soups or create a stockpile of homemade smoothie packs.
Whether low-acid foods or high-acid foods, vacuum-sealing frozen produce and meats ensures uncompromised taste and texture after defrosting.
Frozen food is easy to defrost and prepare quickly, resulting in fresh flavors.
This is one of my go-to methods to preserve food to aid in meal planning for busy weeknights. I just defrost individual pre-processed ingredients or full meals in the refrigerator overnight and then throw in the recipe or just heat and eat at dinner time.
Tools for Freezing
Freezer
Containers and lids
Freezer bags
Baking trays
Steamer or pot and colander
Vacuum sealer with bags and accessories
Butcher paper/ tape
Plastic wrap/ Parchment paper
Freezer bins or dividers
Permanent Markers
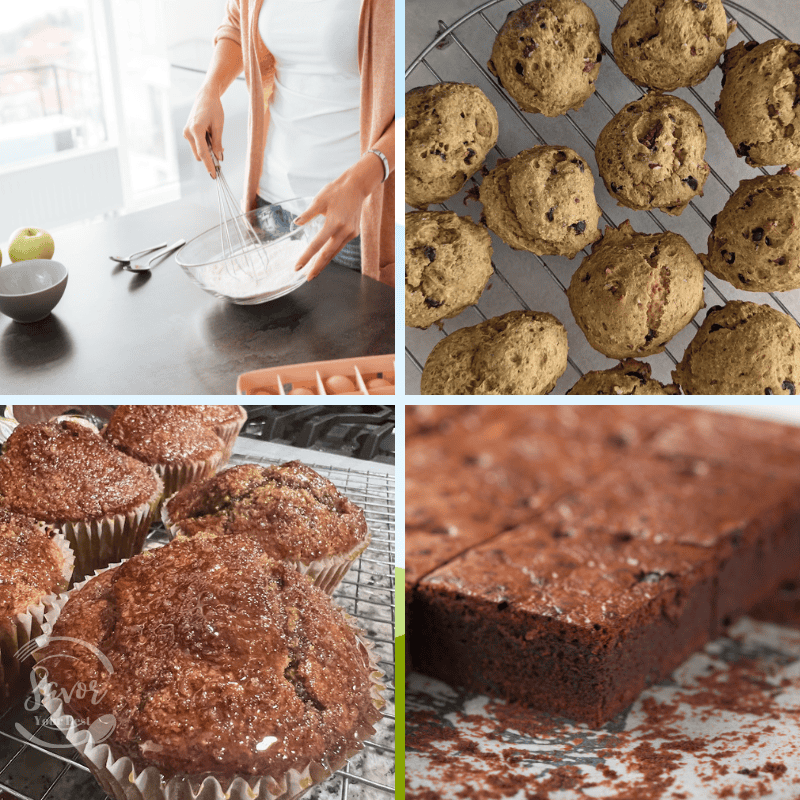
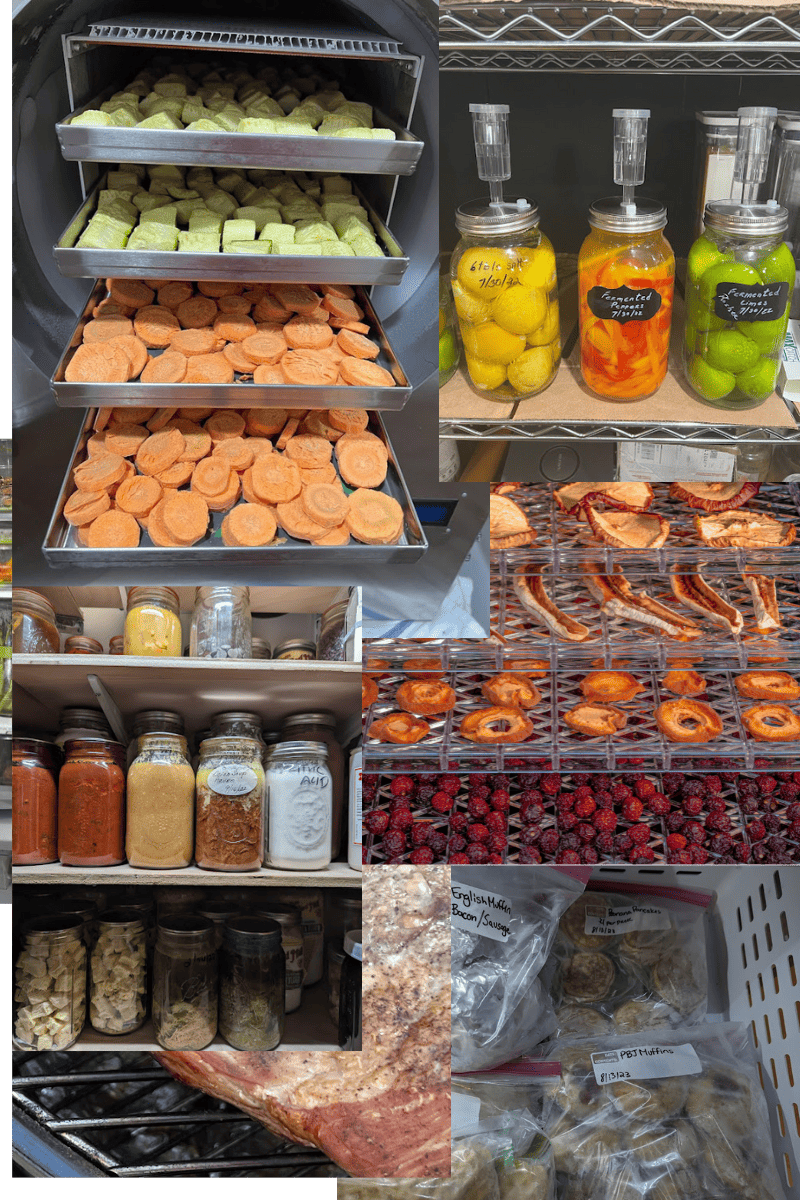
4. Dehydrating

Dehydrating is an easy way to preserve food. Dehydrating food removes moisture while intensifying the natural flavors, creating flavorful and shelf-stable snacks. With gentle warmth and airflow, you can expel water from your favorite fruits, veggies, meats, and herbs, concentrating their flavors and creating captivating textures.
Tools for Dehydrating
Dehydrator
Knife and cutting board
Vegetable peeler
Drying rack
Storage containers such as Canning jars or Mylar bags
Mandoline
Silicone mat or Parchment paper
Oxygen absorbers
Baking trays- if using an oven instead of a dehydrator
Sting- if air drying
5. Vacuum Sealing

Vacuum sealing removes air from packaging, creating a secure cocoon for your food keeping foods fresh for extended periods. Your foods are shielded from the ravages of time, moisture, freezer burn, oxidation, or pantry pests.
Flavors and textures remain intact, ready to be savored whenever you decide to indulge. Vacuum sealing can be coupled with other food preservation methods such as freezing, salting and freeze drying for easy food storage. I often vacuum seal ball jars with various snacks, cereals or freeze-dried essentials to extend freshness.
Tools for Vacuum Sealing
Vacuum Sealer
Vacuum Sealer bags/ rolls in various sizes
Ball jar attachment
Wine/ bottle attachment
Reusable vacuum sealer silicone bags or containers
6. Freeze Drying

Freeze drying employs a unique process to preserve food. It begins by gently freezing foods and then gradually removing the frozen water through a process called sublimation – the transformation of ice directly into vapor.
You can freeze dry raw meat, dairy, eggs, casseroles, soups, and products not safe for dehydration or canning. This results in remarkable preservation that maintains flavors and textures, unlike any other method.
Foods become lightweight, shelf-stable ingredients that can be easily rehydrated to their former flavor and texture, making this home food preservation method superior for long-term food storage.
Want more information on freeze drying at home? Check out our recent articles:
How to Freeze Dry Fruit: A Complete Guide
Tools for Freeze Drying
Knife and cutting board
Storage containers- Canning jars, Mylar bags
Food processor
Silicone mats
Oxygen absorbers
7. Quick Pickling

Pickling is more than preservation; it elevates flavors and adds a zesty punch to your plate.
Employing an acidic brine to preserve food, this technique involves immersing ingredients in a bath of boiled water, vinegar, salt, spices, and sometimes a touch of sugar. Then, let it cool and store it in the refrigerator.
The flavors deepen and mingle as the days pass, transforming simple vegetables into vibrant flavors.
Pickled foods are an easy addition to transform flavors in many dishes. I love pickled vegetables on salads and sandwiches- red onions are my favorite.
Tools for Quick Pickling
Glass jars and lids
Vinegar -Any type- white, apple cider, red wine, balsamic
Pot
Funnel
Ladle
Spices/ herbs
Salt and/ or sugar
Stainer
Coffee filter/ cheesecloth
Permanent Marker
8. Fermentation

Fermentation harnesses the power of friendly bacteria, yeasts, and enzymes, converting sugars into acids, carbon dioxide gas, and other flavor compounds.
Fermented food has a unique flavor and many health benefits.
The acid produced during fermentation transforms ingredients’ flavor, making them slightly more sour and keeping the food safe by preventing harmful bacteria growth.
The fermentation process intensifies flavors over time, so your fermented foods will get better as they mature.
Tools for Fermentation
Fermentation crock or wide-mouth canning jars with lids and bands
Pure sea salt
Knife and cutting board
Filtered water
Fermenting lid
Cleaning supplies
Fermentation weights
Long-handled wooden spoon
Digital scale
9. Root Cellaring
Root cellaring is traditionally a way to store food such as potatoes, carrots, and apples in a cool and dark environment.
It’s a space-saving and energy-efficient way to preserve food by keeping your harvest fresh longer.
You can create root cellar spaces in many ways:
Garden
Cold rooms/spaces- insulated unheated room
Box with a layer of sawdust on the bottom
Clamp- digging a hole and placing vegetables up to six feet down, then covering the vegetables with a few inches of soil with a thick layer of straw on top
Repurpose an old chest freezer, fridge or bucket and create a drain hole in the bottom
This practice extends the lifespan of crops through temperature and humidity control, allowing fruits and vegetables to maintain their freshness and nutritional value, free from the constraints of modern refrigeration.
Tools for Root Cellaring
Thermometer
Hygrometer
Shelving to ensure airflow
Bins or crates
Root cellar ventilation system or small fan
10. Smoking

Smoking takes preservation to the next level, infusing meats, fish, cheeses, and even vegetables with a rich, smoky aroma.
Fueled by fragrant woods and commitment to patience, this technique involves slow-cooking food over a wood fire. The Ph of Wood smoke and the chemicals it contains, such as formaldehyde and acetic acid, slow the growth of microbes. This is why smoking foods is an effective preservation technique.
Smoking also draws out the complexity and character of foods in a way that is impossible to achieve by any other means.
I love smoking meat when we host company. The best cuts of meat for smoking are also some of the cheapest, so you can feed a crowd without breaking the bank. And because smoking uses low heat for a long time, it can tenderize even the toughest cuts of meat. There are a lot of options, from brisket to ribs to chicken to fish.
Tools for Smoking
Smoker- electric, charcoal or gas
Hardwood chips/ pellets- choose your favorite sweet fruit woods or robust hickory
Meat thermometer
Wire racks
Food scale
Salt
Heat resistant gloves
Curing chamber
Packaging
Deep trays for brining
Drip pan
Water pan
Long-handled tongs
11. Salting

Salting, or salt curing, requires patience and precision.
It is a simple yet transformative process. The process involves coaxing out moisture with a careful balance of salts, sugars, and aromatic spices. Salting transforms meat and fish by enhancing textures, balancing flavors, and extending shelf life.
Any kind of salt can be used for curing, but it is recommended to avoid iodized salt since that can cause unpleasant tastes. Curing salt or pink salt is a combination of sodium chloride and sodium nitrate.
As you master nuances of time and technique, you’ll discover that salt curing is not just about preserving food; it’s about capturing the essence of ingredients and amplifying them.
Tools for Salting
Salt
Sugar and spices
Kitchen scale
Plastic wrap/ vacuum seal bag
12. Preserving in Oil

Preserving in oil is a technique that extends foods’ shelf life and encapsulates ingredients, allowing flavors to meld and textures to be heightened.
The oil acts as a natural preservative, covering the food, protecting it from the air, and preventing the growth of most microorganisms. Raw ingredients require acidification prior to infusion.
This method combines everyday components like herbs, vegetables, fruits, and even cheeses with the richness of oil infusing the essence of aromatics and tastes that deepen over time.
Tools for Preserving in Oil
Glass jars and lids
Oil
Funnel
Slotted spoon
Spices/ herbs/ vegetables
Quality oil
Strainer
Acidifying agent- vinegar, lemon juice
13. Extracts

Preserving ingredients through the magic of extracts combines flavor and fragrance. The process requires that the chosen ingredient be entirely covered with high-proof alcohol. Let the container rest in a cool, dark place for a few weeks or more, allowing the flavors to meld and infuse.
As time passes, the alcohol absorbs the essence of the ingredient, creating a concentrated extract that can be used to flavor a wide array of recipes. A few drops of your homemade extract can transform your culinary creations. Allowing the ability to preserve the ingredient’s essence in every delightful sip or bite.
Tools for Extracts
Glass jars or bottles with airtight lids
Alcohol- vodka, rum, brandy, whiskey
Key ingredients- vanilla beans, citrus peel, almond, aromatic herbs
Coffee filter/ cheesecloth
Funnel
Permanent marker
How Can Food Preservation Benefit You?
Food preservation methods are great when I want to take advantage of specials at the grocery store or when I harvest my garden. As soon as I get the foods into the kitchen I clean them and preserve them so they don’t spoil before I can use them.
I don’t have to go to the grocery store or farmer’s market as often. I can also increase the size of my orders and have the foods last a couple of weeks, all month, or longer.
With all of the recent supply chain disruptions and food shortages, food preservation has given me a secure food supply.
By planning a few of these preservation methods, we can extend the life of fresh produce and ingredients, reducing dependency on immediate availability. Food preservation bridges the gap between abundance and scarcity, allowing us to enjoy the flavors of the harvest even when access is limited.
Moreover, these techniques to store food offer a sustainable response to fluctuating supply chains, fostering self-reliance and a deeper connection with our food sources.
As we embrace food preservation, we create a more resilient and food-secure future.
Conclusion
The best time to start preserving food is when seasonal abundance is at its peak. This varies depending on the type of produce and your location. When ingredients are at their freshest and most flavorful, preserving allows you to capture that essence and enjoy it throughout the year.
By employing various preservation methods- water bath or pressure canning, freezing, drying, salt curing, smoking and fermenting- you’ll be sure to capture the diversity of flavors that nature offers throughout the year.
In spring and summer, I focus on fresh herbs and produce to preserve whole fruits and vegetables or create vibrant jams and pickles.
As fall arrives, I turn to root vegetables and canning hearty soups, sauces, and chutneys.
During winter, I dry herbs and create pantry staples and mixes.
Invest time to plan a variety of preservation methods and adapt them to what is available each season; you’ll create a well-rounded pantry that ensures the flavors of each season remain at your fingertips all year long.
As you dive into food preservation, it’s not just about preserving food – it’s about preserving memories and savoring the taste of each season long after it’s gone.
I love the satisfaction of opening these ingredients to prepare snacks and meals knowing that I created them, it is our own food, unique to my family’s preferences.
Whether you’re a seasoned preservation enthusiast or just dipping your toes in, the rewards are undeniable. With thoughtful preparation and the right tools, you’ll create a pantry full of good food in no time.
Frequently Asked Questions
How long can canned food be stored?
Canned food can last up to a year if it’s stored properly. That means keeping it in a cool, dry place. Don’t put it in a warm spot with direct sunlight, near a furnace, or hot pipes. The heat will make the food spoil quickly.
If the place is too warm, the moisture in the air can corrode the metal lids or bands on the jars. This can cause the jars to leak and spoil the food.
So, to keep your canned food fresh and safe to eat, store it in a cool, dry place. And don’t forget to rotate your stock so you use the oldest food first.
- Label and date the jars when you first store them. This will help you keep track of how long they’ve been stored.
- Store the jars in a dark place. Light can also cause the food to spoil.
- If you have a lot of canned food, you can store it in a basement or garage. Just make sure the place is cool and dry.
- If you have to store canned food in a warm place, wrap the jars in newspaper or bubble wrap to protect them from the heat.
How long does it take to freeze dry each batch?
The freeze-drying process usually takes 20 to 40 hours, but the exact time will depend on the type of food and the thickness of the slices. Meat, peas, and corn dry quickly, while squash and watermelon can take longer.
The good news is that your freeze dryer will let you know when the food is ready. It will beep to alert you, so you don’t have to guess when to stop the cycle.
How do you prevent food from browning during dehydration?
I like to use lemon juice to retain the color of my dehydrated food. I don’t use it on leafy greens, like collards, because the acidity can make them bitter. But I spray it on all other fruits and vegetables, like apples, bananas, and tomatoes. You usually can’t taste the lemon juice in the finished product. If you do, try using a little less.
Some people use ascorbic acid powder dissolved in water instead of lemon juice. But I find that this process is messier and more time-consuming.
Does freezing food destroy bacteria?
“Freezing food at 0°F can inactivate harmful microbes like bacteria, yeasts, and molds. However, once thawed, these microbes can become active again and increase to levels that can cause food poisoning. So it’s important to handle thawed food just like you would fresh food.
Here are some tips for handling thawed food safely:
- Thaw food in the refrigerator, not on the counter.
- Cook thawed food immediately after thawing.
- If you can’t cook thawed food right away, refreeze it.
- Don’t refreeze food that has been thawed more than once.