The Freeze Dried Pumpkin Revolution: A New Approach to Autumn’s Favorite Flavor

We’re reader-supported. When you buy through links on our site, we may earn an affiliate commission.
Fall is my favorite season, that I eagerly anticipate each year. I’m reminded of pumpkin season when the first cool breeze hits my face. Every treat, from lattes to pastries, suddenly seems to take on a warm, spiced pumpkin costume. It’s not just about the flavors; it’s the nostalgia and comfort they evoke. As pumpkin-spiced delicacies start to line shelves, the leaves transition into vibrant hues of red and gold, and cooler weather invites us to cozy up in our favorite sweaters.
I love the creative fusion of pumpkin and warm spices in sweet and savory dishes. I am always excited to try to replicate the ingenious ideas of these flavors at home.
For years, pumpkin puree in a can was the hero of my kitchen anytime I tried to recreate these festive dishes. With just a pop of the lid, you’re moments away from whipping up any pumpkin-infused treats. However, a little-known fact to many is that this convenient concoction often isn’t pure pumpkin. It’s not uncommon to find it blended with various squashes, which can slightly alter the flavor and texture.
While these canned goodies are a staple for many, it’s important to note a significant safety precaution for my fellow home preservers: canning pumpkin puree at home isn’t recommended. Due to its dense nature, achieving the high temperatures needed throughout the jar to eliminate bacteria is challenging. So, while I love preserving homemade ingredients with pumpkin puree, I lean on the side of caution and leave the canning to the professionals. (Home canners: It is possible to easily can pumpkin chunks, which you can puree after you open the can.
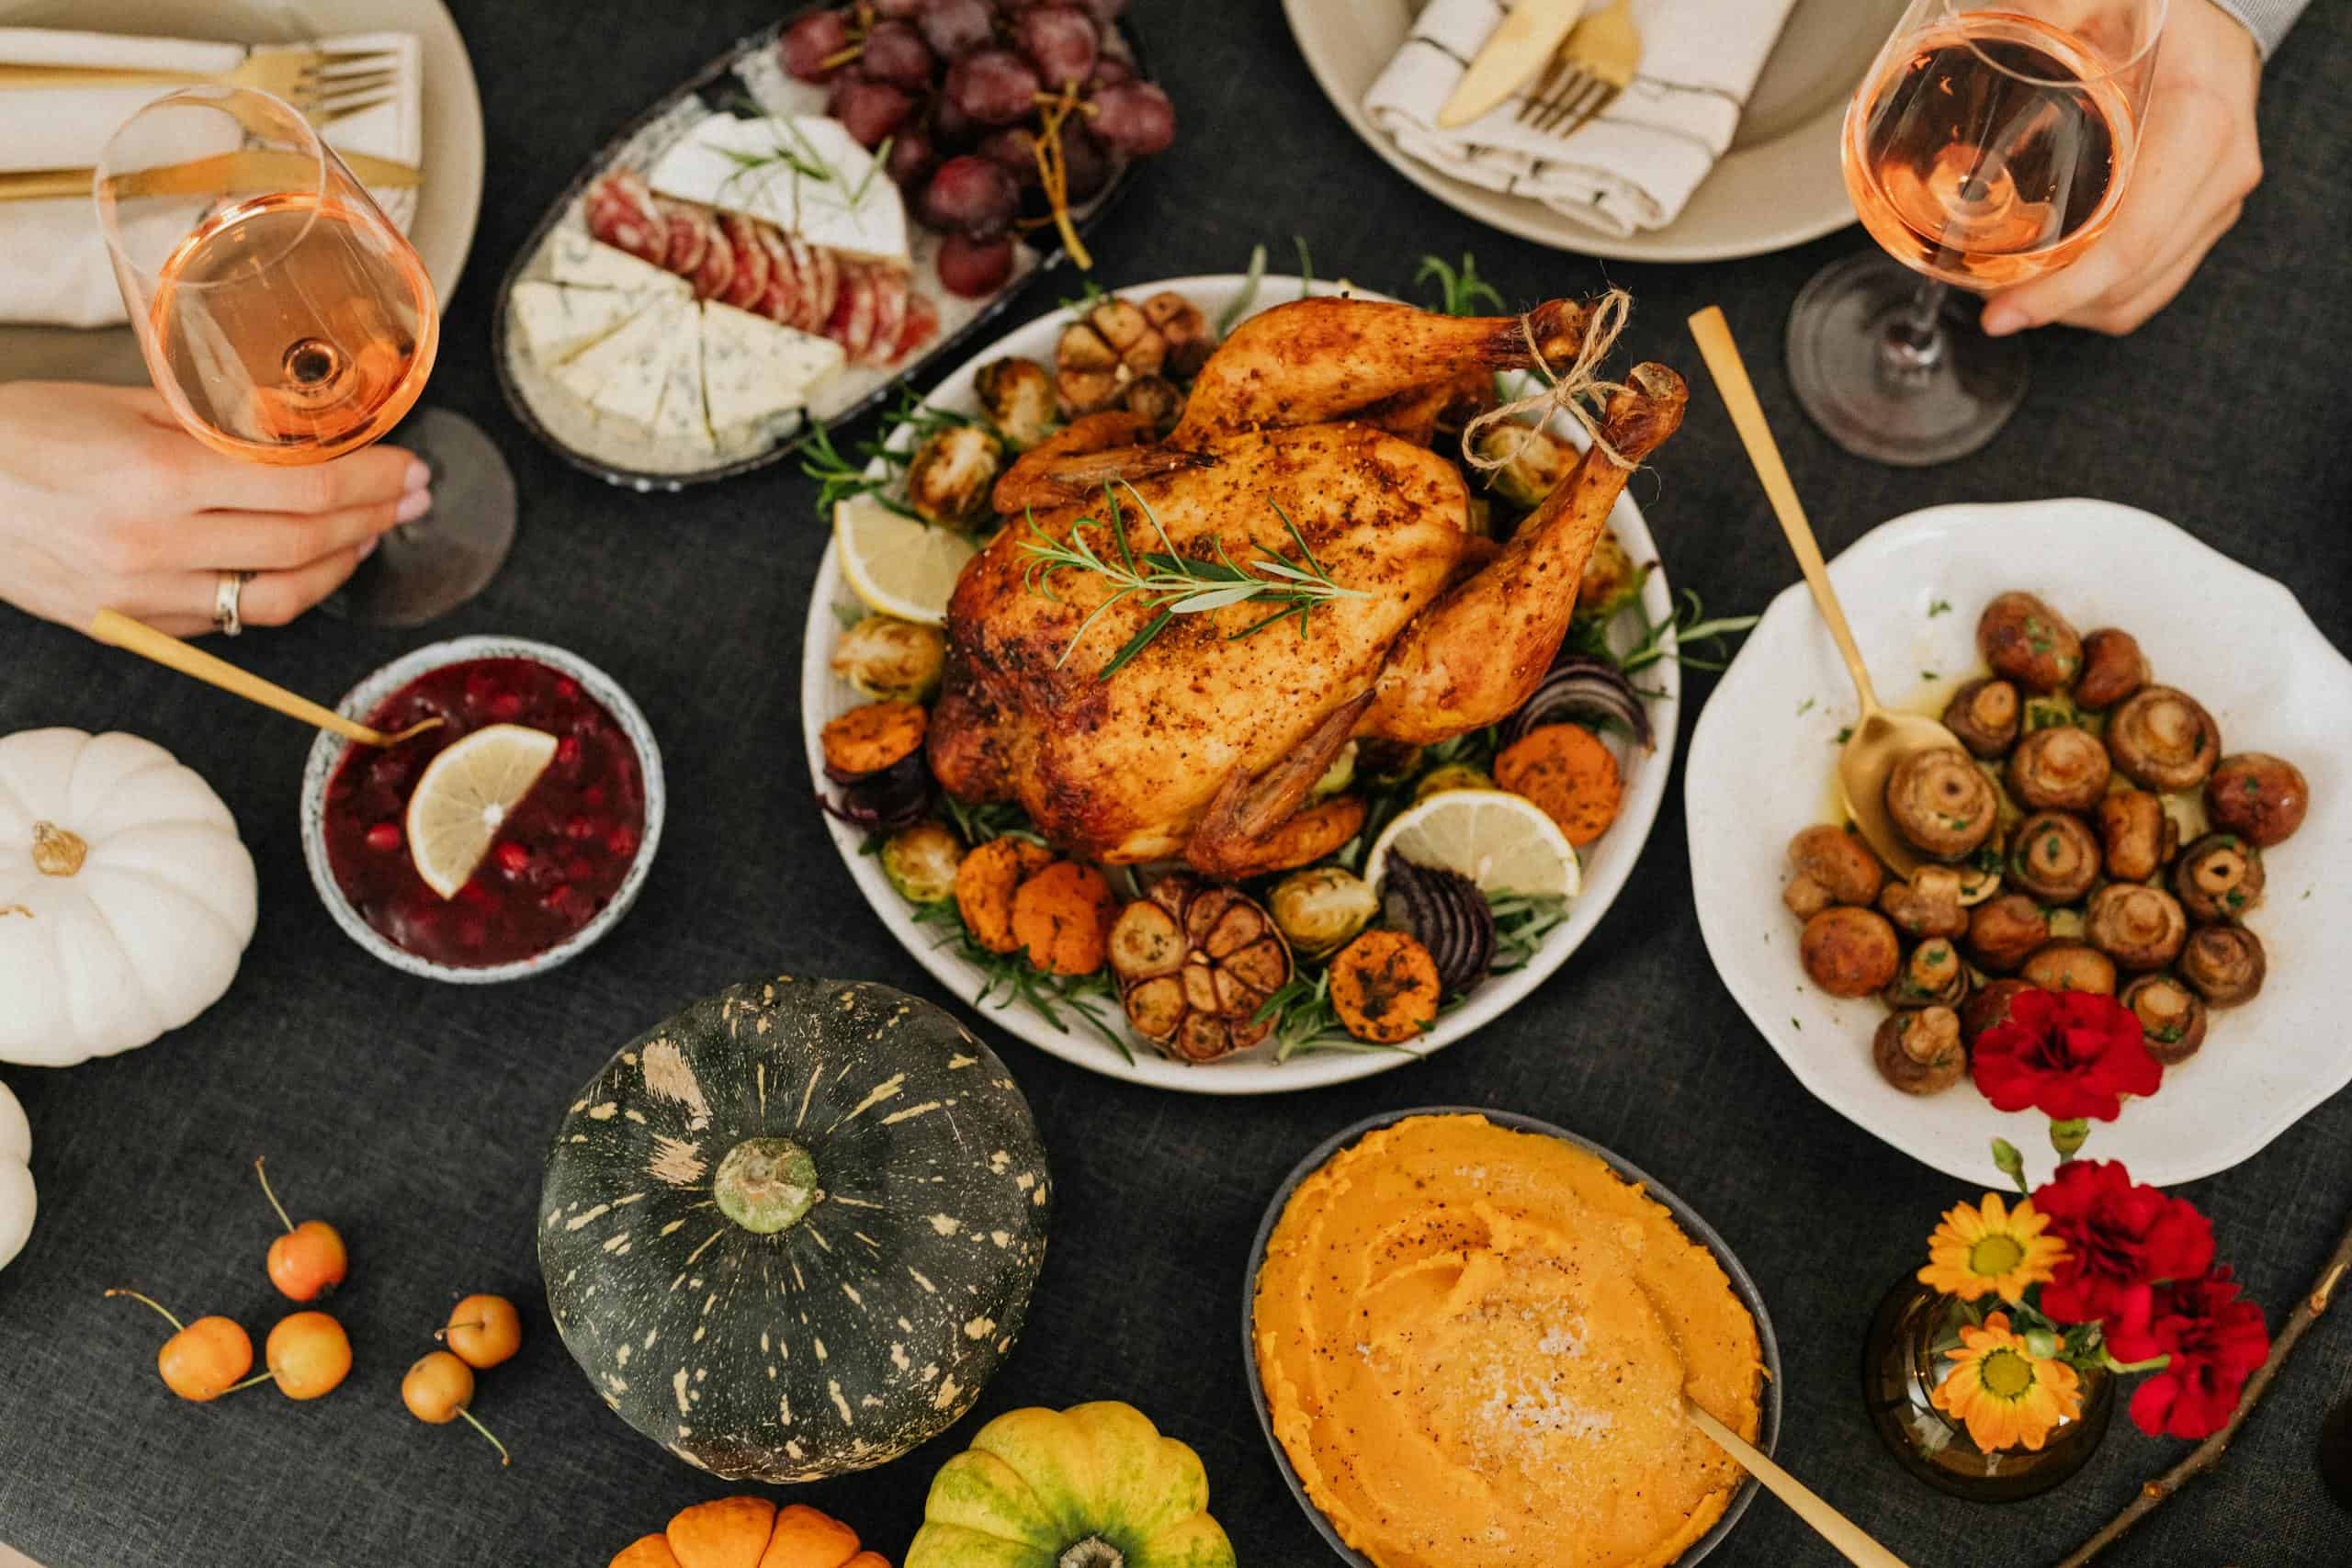
The first time I had a pumpkin pie made with fresh pumpkin, it was life-changing. A good friend had many goodies made with fresh pumpkin at her Thanksgiving celebration. Fresh pumpkin brought an unparalleled depth and authenticity to the treats. Fresh pumpkin infuses a moistness and flavor that canned versions can’t quite match.
Using fresh pumpkins in sweet treats and savory meals requires additional effort. From the initial cleaning and deseeding to roasting and pureeing, transforming this raw gourd into a versatile ingredient demands time and patience. But the authentic flavor and texture it brings to the recipes make the extra work well worth it.
It turned out the secret was Pie Pumpkins (also called Sugar Pumpkins). Unlike the behemoth pumpkins I was used to carving for Halloween, these petite, vibrant pumpkins are ideally suited for baking. They have a sweeter and smoother flesh than their larger counterparts.

As years passed and I continued using fresh pumpkin for all my festive pumpkin recreations, I stumbled upon another secret – freeze drying pumpkin. When I thought I had unlocked all the secrets behind the perfect pumpkin treats, freeze drying added another layer of complexity. This process not only preserves the pumpkin; it intensifies its flavors and locks in the nutrients. Best of all, freeze dried pumpkin makes using fresh pumpkin just as quick and convenient as canned pumpkin.
Freeze Drying at Home
Embarking on the journey of freeze-drying at home might sound daunting, but with the right tools, it’s a straightforward process. Begin by preparing the item you wish to preserve, ensuring it’s clean and cut into a consistent size. Next, place the prepared items on the trays of your freeze dryer. Harvest Right Freeze Dryers are the most popular brand of home freeze dryers. They offer an efficient and user-friendly experience for beginners and seasoned users alike. Check out buyers’ guide to find the right machine for your needs. Once loaded, the freeze dryer goes to work, first freezing the product and then gradually reducing the internal pressure, allowing the frozen water in the material to sublimate directly from the solid phase to the gas phase. After the process is complete, you’re left with perfectly preserved items that maintain their flavor and nutritional value, ready to be stored and rehydrated when desired.
Is pumpkin suitable for freeze drying?
Pumpkin is remarkably suited for the freeze-drying process, and much of this can be attributed to its natural composition and moisture content. This vibrant gourd is packed with water, which, when removed through freeze drying, results in a preserved product that retains its essential nutrients and characteristics. Moreover, pumpkin boasts a unique flavor profile, a delicate balance of earthy sweetness with subtle nutty undertones. When freeze-dried, this flavor is not only preserved but often intensified. The process captures and seals in the very essence of the pumpkin, ensuring that when rehydrated or consumed in its dried form, every bite or spoonful offers a concentrated burst of pure pumpkin goodness.
How to Freeze Dry Pumpkins at Home
Freeze drying pumpkins at home is the perfect way to savor the flavors of fall all year round.
Choosing the Perfect Pumpkin for Freeze Drying
The first step is selecting the right pumpkin. It’s vital to choose fresh, ideally, organic produce to ensure you capture the purest essence of the fruit. The best pumpkin has characteristics of freshness, flavor, and firmness. Finding the perfect pumpkin goes beyond mere aesthetics. Ideal pumpkins possess a harmonious blend of physical and flavorful attributes.
Externally: they should have a robust and smooth skin, free from blemishes, soft spots, or deep cuts. This not only signifies freshness but also ensures longevity when stored. A sturdy stem, firmly attached, further indicates a freshly harvested pumpkin. When it comes to color, a uniform, deep orange hue often indicates ripeness and readiness for culinary exploits.
Internally: the flesh should be dense, yet moist, with a rich, sweet aroma when cut open. The flavor profile of an exceptional pumpkin is a delightful balance of sweetness and earthiness.
Preparing the Pumpkin

Once you have your perfect pumpkin in hand, the preparation begins. Start by thoroughly cleaning the exterior, then slice it open, remove the seeds (which can be planted or made into another treat), and cut the flesh into even slices or chunks.
The pumpkin can be left raw or further processed depending on the intended use. I cut it into pieces and left it raw to freeze dry. This will allow me to use several different methods in the future after rehydration.
Baking: allows the pumpkin to caramelize slightly, intensifying its natural sweetness, ideal for pies and roasts.
Boiling: offers a quicker method, especially for purees and soups, though it can dilute the flavor somewhat.
Steaming: strikes a middle ground, preserving most of the pumpkin’s inherent flavors while making the flesh tender and easy to mash or blend, making it perfect for side dishes and fillings.
When it comes to the actual freeze drying process, having the right equipment is crucial. There are freeze dryer accessories that can elevate the entire experience. Making the process easier, and more efficient. Checkout our favorite freeze dryer accessories and learn the must-haves and the good-to-haves.Reliable freeze dryers, set to appropriate durations and following manufacturer best practices, will yield the best results. Finally, once you’ve captured the delectable essence of the pumpkin in its freeze dried form, ensure you store it in airtight containers, preferably in a cool, dark place, to guarantee its long-lasting preservation and freshness.
The Freeze Drying Process
- Loading the Tray: Begin by arranging the prepared pumpkin slices or chunks evenly across the freeze dryer’s trays, ensuring they are spread out without overlapping. Alternatively, puree the pumpkin first and load into molds and then proceed with the freeze drying process.
- Pre-Freezing: You can place the trays into your freezer to prefreeze. This step can reduce the batch time, increasing your machine’s efficiency and productivity. If you do not have the space in your freezer, skip this step, and the initial freeze will be the first step when you place the tray in your freeze dryer.
- Primary Drying (Sublimation): Once the pumpkin is adequately frozen, the freeze dryer will reduce its internal pressure and initiate a gentle warming. This process allows the frozen water in the pumpkin to sublimate directly from ice to vapor, bypassing the liquid phase.
- Secondary Drying: After the majority of the moisture has been removed, the temperature is raised slightly higher to drive off any remaining bound water molecules from the pumpkin.
- End of Cycle: Once the drying phases are complete, the freeze dryer will notify you that the process is done.
- Checking for Moisture: Before packaging, it’s crucial to ensure all moisture has been removed. This can be done by breaking a piece of the freeze-dried pumpkin. It should snap cleanly, and there shouldn’t be any noticeable icy or cold spots that would indicate remaining moisture.
- Packaging: Before packaging, you can put the pumpkin into a food processor to create a powder. Pack the freeze-dried pumpkin promptly using airtight containers, mylar bags, or vacuum-sealed bags. This ensures long-term storage without risk of moisture re-entry or oxidation. Be sure to label the package with the date and weight.
- Storage: store the freeze-dried pumpkin in a cool, dark place, allowing the preservation to remain uncompromised and flavors to stay vibrant for the long haul.

Rehydrating Freeze Dried Pumpkin
Rehydration is the step that brings the freeze dried pumpkin back to life. This process is essential because while freeze drying locks in the flavor and nutrients, rehydration restores the pumpkin’s original texture, making it suitable for various recipes.
How you intend to use the pumpkin will determine what method to rehydrate to achieve the best results.
Pumpkin Powder
In baking, dehydrated ingredients offer a consistent and predictable result, eliminating the variability that sometimes comes with their fresh counterparts. Dry products like eggs, milk, and even pumpkin are incredibly convenient, allowing bakers to have staple ingredients without worrying about shelf life or spoilage. It is more economical since one uses only what is needed without waste. The concentrated flavors in dried products can often intensify a recipe, giving it extra depth and richness.
So before or after packaging, you can powder freeze dried pumpkin in a food processor. Pulse a few times to ensure you get a consistent powder. Then, you can throw the powder into many baking recipes: breads, pancakes, cookies, cakes, and muffins. Check further down for my Pumpkin Spice Banana Bread.

Or you can use the pumpkin powder in any recipe; add the desired amount of pumpkin powder and increase the liquid in the recipe by the same amount. For example, my favorite Pumpkin Muffin recipe calls for 1 ½ c pumpkin puree. I would add 1 ½ c pumpkin powder and 1 ½ c liquid to the recipe (increase the milk in the recipe by 1 ¾ c or add 1 ½ c water).
Rehydrated Raw Puree
Immerse the freeze-dried pumpkin powder in hot water, then put a lid on the container and allow the pumpkin to slowly absorb moisture. Wait about 10 minutes. It is best to start at a 1:1 ratio and add more water to get the desired viscosity of the puree.

I have found that once the freeze dried pumpkin has absorbed the liquid, it is smooth enough for many recipes, but if you are creating anything smooth or creamy texture (pumpkin pie, custard, ice cream, coffee creamer, alfredo sauce), put the rehydrated puree back in the food processor to get smoother results.
Rehydrated Pumpkin Pieces for Cooking
To rehydrate the pumpkin pieces, it is best to weigh the amount of freeze dried pumpkin you are working with and add the same amount of hot liquid in an airtight container. Wait about 10 minutes, and then determine if you want to add more liquid or get cooking. Since the cooking methods usually add more liquid, I try not to over-saturate the pumpkin at this point.
You can use the directions below to cook the rehydrated pumpkin individually and then add it to your meal. These methods will allow you to seamlessly incorporate rehydrated freeze-dried pumpkin into various dishes, capitalizing on its revived flavors and textures.
Or, you can put the rehydrated pumpkin and cook it in the recipe as you would fresh pumpkin.
Roasting Rehydrated Freeze-Dried Pumpkin:
- Preheat your oven to 400°F (200°C).
- Spread the rehydrated pumpkin pieces evenly on a baking sheet.
- Drizzle with olive oil and season as desired.
- Roast for 20-25 minutes or until edges are slightly caramelized, turning halfway for even cooking.
Sautéing Rehydrated Freeze-Dried Pumpkin:
- Heat a skillet or pan over medium heat.
- Add a touch of olive oil or butter.
- Once hot, add the rehydrated pumpkin pieces.
- Sauté for 5-7 minutes, or until they develop a golden color, stirring occasionally.
Boiling Rehydrated Freeze-Dried Pumpkin:
- Fill a pot with water and bring it to a boil.
- Add the rehydrated pumpkin pieces.
- Boil for about 10-12 minutes or until the pumpkin becomes tender.
- Drain the water, use the pumpkin as desired in recipes, or mash for a puree.
Rehydrated Freeze Dried Pumpkin Recipes
Pumpkin brings the warmth and richness of autumn into our kitchens, even outside the season. From savory dishes to sweet treats, freeze dried pumpkin offers these warm flavors all year round. With its restored texture and intensified flavors, rehydrated pumpkin offers a versatile base for an array of delightful recipes.
Pumpkin Banana Bread

This Pumpkin Banana Bread combines the moistness of bananas with the earthy flavor of pumpkin, creating a warm blend perfect for any autumn morning or as a sweet treat alongside your afternoon tea.
Yields: 1 loaf
Ingredients:
- 2 ripe bananas, mashed
- 1 cup pumpkin puree (1c freeze dried pumpkin powder combined with 1 c hot water)
- 2 eggs
- 1/4 cup vegetable oil or melted butter
- 1/4 cup sour cream
- 3/4 cup granulated sugar
- 1 tsp vanilla extract
- 2 cups all-purpose flour
- 1 tsp baking soda
- 1/2 tsp baking powder
- 1/2 tsp salt
- 1 tsp ground cinnamon
- 1/2 tsp ground nutmeg
- 1/4 tsp ground cloves
- 1/4 tsp ground ginger
- 1/2 cup chopped pecans (optional)
- 1/2 cup chocolate chips (optional)
Instructions:
- Preparation: Preheat the oven to 350°F (175°C). Grease a 9×5 inch loaf pan.
- Wet Ingredients: In a large bowl, combine the mashed bananas, pumpkin puree, eggs, vegetable oil or butter, yogurt or sour cream, sugar, and vanilla extract. Mix until smooth.
- Dry Ingredients: In a separate bowl, whisk together the flour, baking soda, baking powder, salt, cinnamon, nutmeg, cloves, and ginger.
- Combine: Gradually add the dry ingredients to the wet mixture, stirring until incorporated. If desired, fold in nuts, chocolate chips, or raisins.
- Bake: Pour the batter into the prepared loaf pan and spread evenly. Place in the oven and bake for 60-70 minutes or until a toothpick inserted into the center comes out clean or with a few crumbs.
- Cool: Once baked, remove the bread from the oven and let it cool in the pan for about 10 minutes. Afterward, transfer it to a wire rack to cool completely.
- Serve: Slice the cooled pumpkin banana bread and serve with a spread of butter or a drizzle of honey.
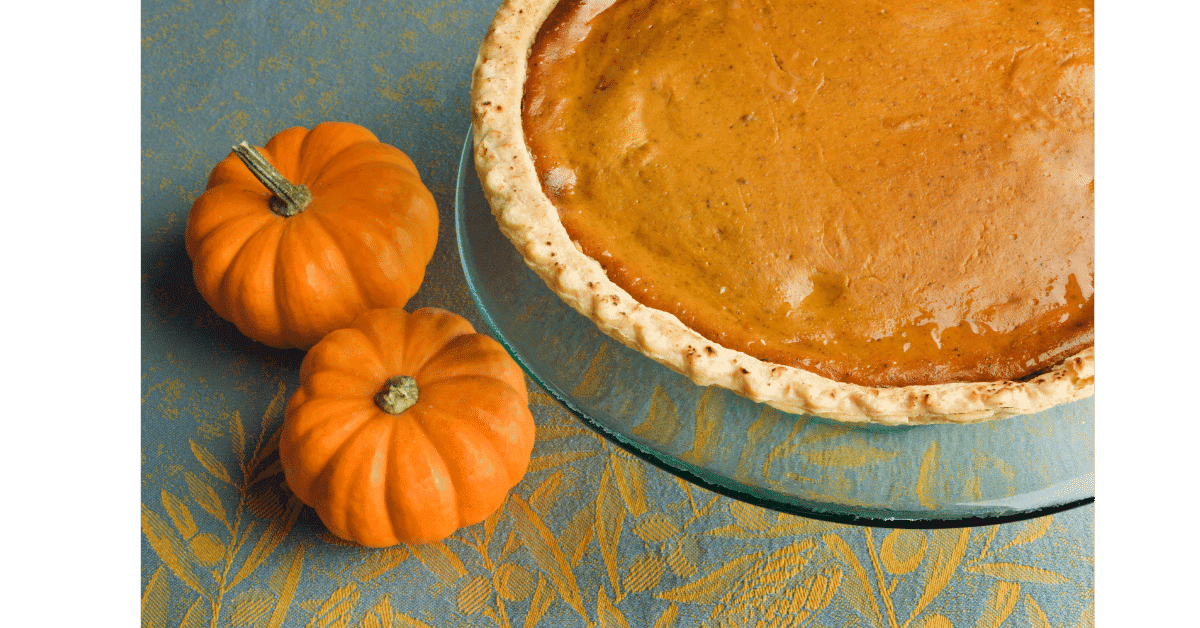
Pumpkin Mini Pies

These delightful Mini Pumpkin Pies capture the essence of autumn in every bite, perfect for parties, gatherings, or when you want a bite-sized treat to satisfy that pumpkin craving.
Yields: 6 mini pies
Ingredients:
- Pie Crust:
- 1 store-bought pie crust (or your favorite homemade recipe)
- Pumpkin Filling:
- 1 cup pumpkin puree (1c freeze dried pumpkin powder combined with 1 c milk or water, stir and let sit for 10 minutes, then put in a food processor until smooth)
- 1/4 cup granulated sugar
- 1/4 cup brown sugar
- 1 egg
- 1/2 tsp vanilla extract
- 1/2 tsp ground cinnamon
- 1/4 tsp ground ginger
- 1/8 tsp ground cloves
- 1/4 tsp ground nutmeg
- 1/2 cup evaporated milk or heavy cream
Instructions:
- Preparation: Preheat the oven to 375°F (190°C). Grease a mini pie plate or muffin tin.
- Pie Crusts: Roll out the pie crust on a floured surface. Using a cookie cutter or the rim of a glass, cut out circles that fit the size of the mini pie plate or muffin tin. Press each circle gently into the tin, ensuring it’s well-fitted and has a mini pie shape. Bake pie crusts according to package directions.
- Pumpkin Filling: In a medium-sized mixing bowl, whisk together the pumpkin puree, granulated sugar, brown sugar, and egg until smooth. Stir in the vanilla extract, cinnamon, ginger, cloves, and nutmeg. Gradually mix in the evaporated milk or heavy cream until the mixture is smooth and well combined.
- Assembly: Carefully spoon the pumpkin filling into each mini pie crust, filling about 3/4 of the way full.
- Bake: Place the mini pies in the preheated oven and bake for 20-25 minutes or until the filling is set and a toothpick inserted into the center comes out clean.
- Cool & Serve: Allow the mini pumpkin pies to cool in the tin for about 10 minutes. Once slightly cooled, transfer them to a wire rack to cool completely. Serve with a dollop of whipped cream on top.
Check out our guide to freeze drying the other autumn flavor favorite, APPLE.
Here are more recent articles on freeze drying fruit and vegetables and the best freeze dried snacks and even candy.
Questions? We Have Answers.
Get answers to a list of the most Frequently Asked Questions.